If you are of the users who are facing issues with Realtek HD Audio Manager or issues related to sound quality or no sound, then you are at the right spot because this article will clear all your problems and you do not have to go anywhere for the same. In this article, we will be showing you the 4 best methods that definitely work to Reinstall the Realtek HD Audio Manager to fix the issue.
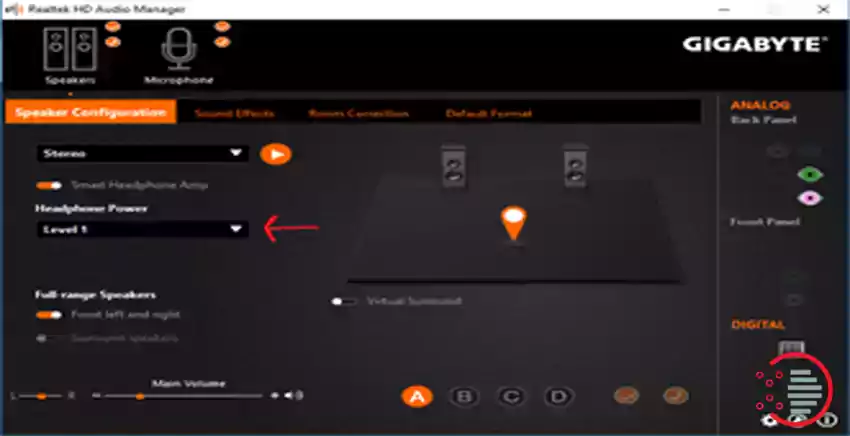
Realtek audio manager has been known as one of the best in the market when it comes to the audio sound system needed in Windows 10. Many users also complain that they were unable to find the Realtek Audio Manager icon in the taskbar, after the windows 10 update.
Don’t worry because we have the solution for this too. If you are unable to find the icon In the system taskbar then the main reason would be the Realtek Audio Manager corruption. The best way to deal with this is to reinstall the Realtek Audio Manager on your pc. To do so, we have listed the best methods to resolve these issues in the Realtek Audio Manager. So, stick to the end of the article to resolve the problem to the core.
You may also like to read about ‘How to Fix the Start PXE over IPv4‘.
Best ways to Reinstall the Realtek Audio Manager
Table of Contents
Here are 4 best through which anyone can reinstall or fix the issues that they are facing with Realtek Audio:
Method 1: Reinstall the Realtek Audio Manager
Open your browser and navigate to website of Realtek.
You will see the page where you can choose the latest version of the Realtek Audio Manager and download it.
You will find the option under the “PC Audio Codecs”.
If you are unable to download then you have a missing High definition Audio Codecs Software.
Once the download is completed visit the source file and install it on your pc.
Visit the file RtkNGUI64.exe to open up the audio manager.
You may also like to read about ‘How To Fix ‘Avast Won’t Update Virus Definitions’ Issue?‘.
Method 2: Update the Realtek Audio Manager Manually
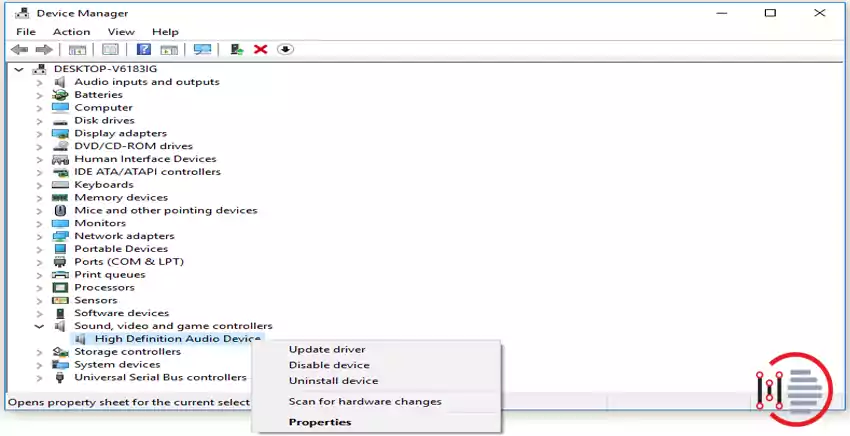
Open your device manager.
Go to the option of sound, video, and game controls and open the Realtek Audio Manager, and select update.
Click on search updates automatically.
You need to update it. Make sure you have an active internet connection. After the update is completed you will see a message that the best version is already installed on your device. Thus, you can get the Realtek Audio Manager in the Taskbar of your PC.
Method 3- Disabling the Microsoft UAA Bus driver
Open your Device Manager.
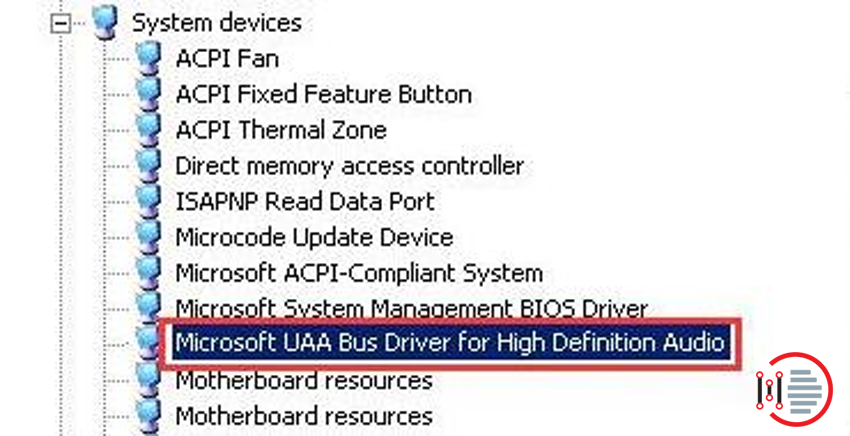
Go to the option of system devices and click on the Microsoft UAA Bus Driver and then choose disable.
Press the Windows key and | to open the apps tab.
Now go to the search box of the application and search for Realtek Audio Manager and click on Uninstall.
Now, visit the Realtek Audio Manger and download the latest version.
You may also like to read about ‘How to Rename the Bluetooth device name of your Windows 10 PC‘.
Method 4 – By the use of ADD LEGACY for the installation of drivers.
Open the Device manager of your PC.
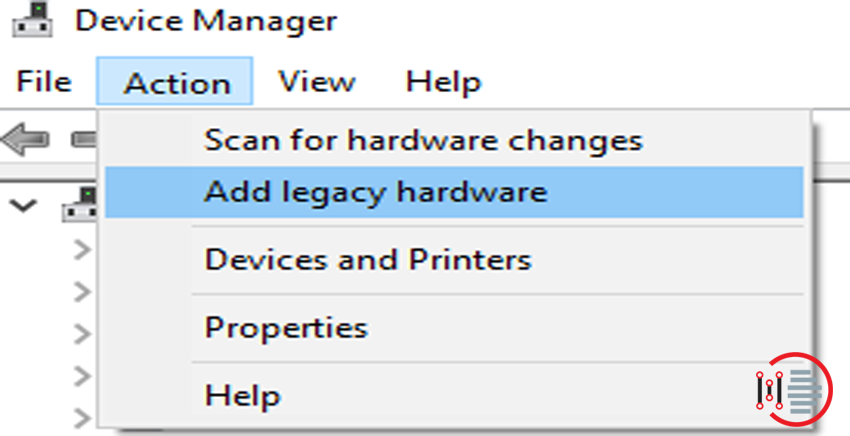
In the device, the manager chooses the option of the sound and games and then clicks on the action to choose the Add legacy hardware option.
Click on next to automatically install the hardware.
Just Reboot the system to see the changes.
Conclusion
Thank you for reading this article on ‘4 Best ways to Reinstall the Realtek Audio Manager‘. If you have any queries, please comment below. We would love to help.
Hope that the above methods prove to be useful. You can comment down your views regarding the methods and if have tried it, it will be our pleasure to know your experience.
You may also like to read about ‘How to Add Apps to Vizio Smart tv – Easy to Follow‘.

