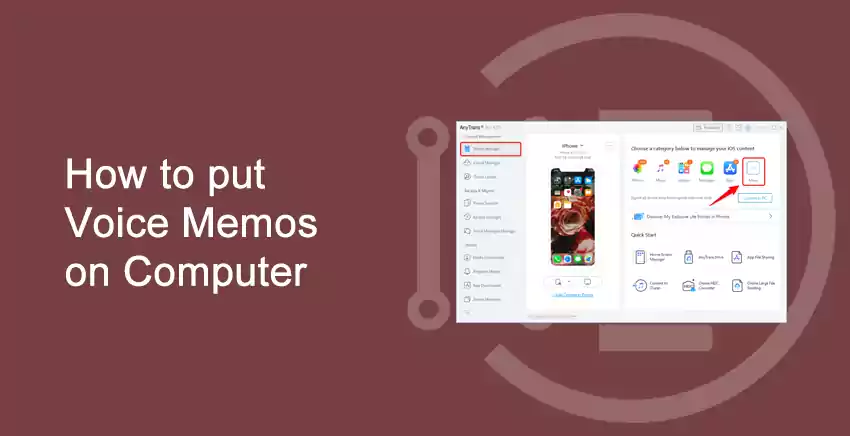
Transferring or Putting Voice Memos on Computer
Table of Contents
Voice Memos are a great way to quickly record thoughts, music, bits of lectures, or anything else you may hear on the go. Voice Memos can easily be edited, cropped, or added to later, and are therefore a favorite tool of writers, musicians, and other creative people.
There can be situations where you want to either save your Voice memos file in computer for future or edit/alter them in your computer. These can be done very easily.
Let us now dive into the topic and learn ‘How to put voice memos on computer‘.
Step 1 – Navigating voice memos in iPhone
First of all, you have to navigate to the voice memo(s) application in your iPhone.
Step 2 – Selecting the voice memos and sharing
Once you enter the voice memo application in iPhone. Select the voice memo that you want to share or store in your computer. Either select it and click on the three dots or hold it for few seconds.
Recommendation – Please rename the file(s) before sharing, if you are sharing multiple files, it will be easy to sort the voice memo in your computer after transferring.
Step 3 – Sharing the voice Memo via Mail
There can be various option to share with, but it will be comfortable for us to share it via mail that we can later access on our computer.
Step 4 – Entering Credentials and sharing the voice memo
Now, just enter your Subject, email account in which you are sharing (in this case, it can be your personal email, since later we will be accessing it on our computer).
Step 5 – Accessing mail in computer to download the voice memo
The last step of this article is simple, go to your computer, access the mail id that you shared the voice memo with, download your voice memo and store it safely in your computer.
Congratulations, you now have transferred your Voice memo from iPhone to your computer with just 5 easy steps.
Thank you for reading this article, we hope you liked it. If you have any query please let us know below in the comment section.
Do not forget to read our other articles on iPhone –
https://indiatechnoblog.com/how-to-schedule-a-text-message-on-iphone-in-2020
https://indiatechnoblog.com/transfer-music-from-android-to-iphone-without-computer
https://indiatechnoblog.com/fixing-iphone-is-disabled-error-step-by-step/


