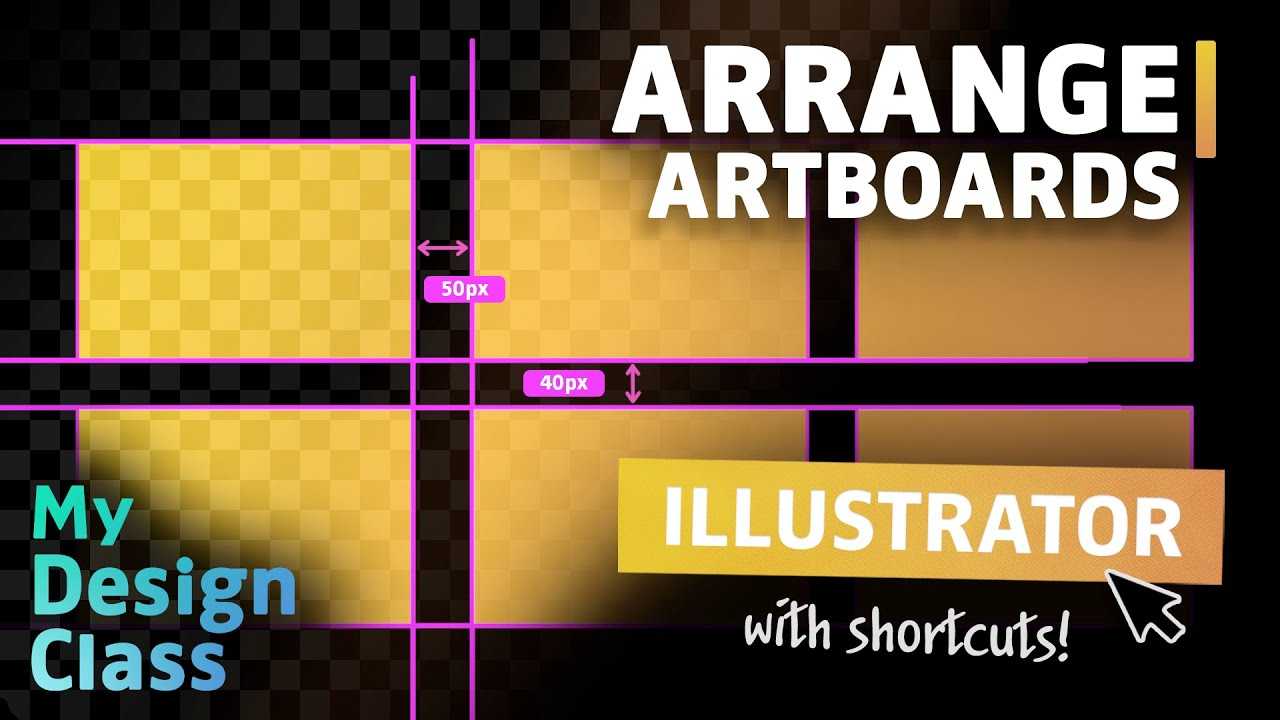
If you are working on a project that requires many artboards, knowing how to arrange them in Illustrator can be very helpful.
There are many reasons why you might want to reorganize Adobe Illustrator artboards.
It could be that you are working on a large project, but suddenly realize you have an inordinate number of layers to handle.
Perhaps you’re a designer like everyone else and are extremely organized.
It is very easy to arrange all artboards in your file. You can do this by using the amazing “Artboards Panel” feature, “Rearrange All Artboards”.
This will automatically do it for you in seconds, I promise!
If you are used to doing things the traditional way, this may not be the right solution. But don’t worry! You can still do it manually if you wish!
Select the “Artboard” tool from the left menu, or tap the “Shift+O” keyboard shortcut to tap on any Artboard and drag it around the canvas.
You can align them as any other object using the “Align” panel if you need to be more precise.
Open the Adobe Illustrator “Artboard” panel. Click on the button at the lower-left corner to rearrange all artboards. After you have configured all the options, click “OK”.
Adobe Illustrator Step-by-Step Guide: How to Rearrange Artboards
Here’s a tip for those who are in a rush: If you want to make sure all artboards fit on the canvas, select “Fit All in Window” from your main menu.
Follow these steps to figure it out in no time!
Step 1
Choose the “Artboard tool”
It can be activated by clicking on “Shift+O” or selecting it from the left-hand menu.
You can activate the “Artboard Tool” to view all artboards highlighted on your canvas. It will also display the name of each artboard in the upper left corner.
Step 2
Click on the “Artboards” panel.
Click on “Window” in the top menu bar and then click on “Artboards”.
Every artboard that you choose on your file will immediately be highlighted on the “Artboards” panel. This indicates which artboard it is.
Step 3
Click the “Rearrange all Artboards” button
This button is located in the panel’s lower left corner.
A menu box will appear with several options.
To better understand them, please follow the next steps.
Step 4
Set the arrangement settings in the menu box.
The settings can be set up however you like. There is no right or wrong way to do this; you can customize it to your liking.
Here is a brief overview of all the settings available:
Layout: There are four options available: Grid by Row, Grid by Column, “Arrange By Row” and “Arrange By Column”.
Layout Order: Choose whether the layout should be “Right-to-Left”, or “Left-to-Right”.
Columns/Rows: Enter the number of columns and rows you would like.
Spacing: To determine how much space between artboards.
Last but not least, make sure to choose the “Move Artwork With Artboard”, otherwise the artboard will be independent of what’s within it.
Step 5
Click “Ok”.
Now you should be done. Click the “OK” button to save your file.
If you are not satisfied with the outcome, you can always undo it and start over.

