How to take a Screenshot on Windows
Table of Contents
There are various reason for which you would like to take a screenshot right? First of all, let us understand what a screen shot it?
A screenshot is the photo or capturing the screen which you are taking screenshot of. You may take screenshot on your mobile phone, laptops, macs, television or your windows. There are several reasons to take screenshot, such as, for proof, reference, memory, sharing, guiding and the list goes on.
Let us come to the most important point now. How to take a screenshot on Windows?
There are various ways of taking screenshot and saving them. You will know about all of them further in this article.
Taking Screenshot and sharing it (full screen)
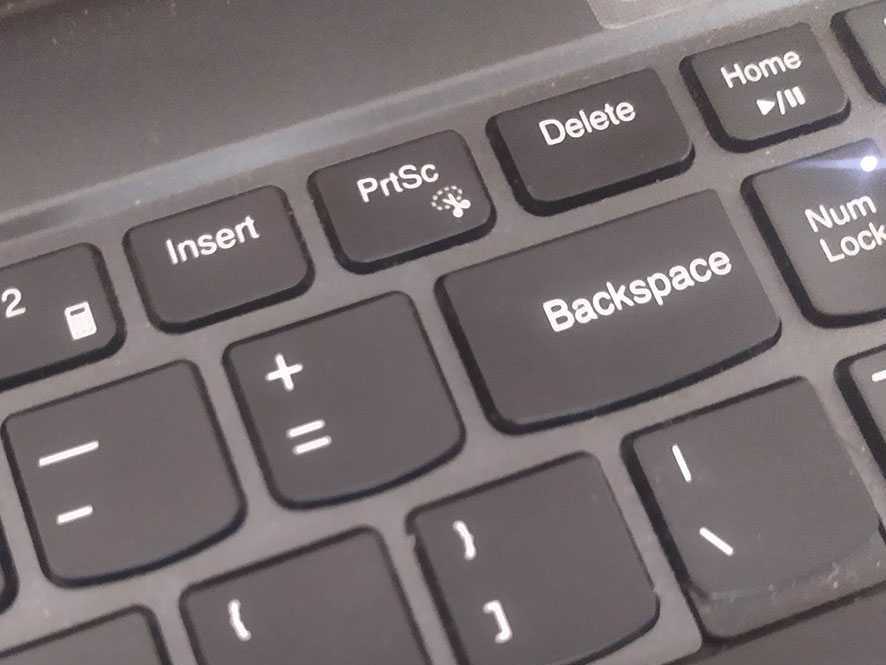
- Press PrtScn: You can take screenshot on your windows by pressing PrtSc button on your keyboard. Where can you find this key? It’s near to the delete button, beside home button.
Once you have pressed PrtSc button, the whole screen is now captured and stored in an invisible clipboard, that is usually stored in “RAM” of your computer. Now, just go to a place where you want to share or paste it. Right click on your mouse, select “paste”. This allows you to paste the screenshot that was stored in clipboard.
- Sometimes, in few keywords you have to select a special button before pressing PrtSc, which is “FN”.
Where can you find this key? It’s on the lowest line, probably beside Windows button.
Taking Screenshot of a single window
You can take screenshot of a single window by pressing ALT key + PrtSc.
Where can you find ALT Key? It’s in between Windows button and Space button.
Once you have pressed alt key followed by PrtSc button, the particular screen that’s active gets captured and saved in the clipboard which I told you about previously. Now, you can share it by pasting it where ever you want. (you will find my most favorite method below)
Taking Screenshot of a particular or specific area
It’s easy to take screenshot of some particular area that you want to capture. First click on Windows, followed by Shift and finally press “S“. This will give you an option to select the the part of screen which you want to take screenshot of by dragging your mouse button. As soon as you leave, it will ask if you want to save it, if you press escape button, it comes out of capturing mode and it saves it.
How to take a screenshot on Windows 10 with Snipping Tool
Microsoft includes a much more flexible screenshot utility with Windows 10, called Snipping Tool. You can use Snipping Tool to grab a screenshot and save it as an image file without first pasting the screenshot into another program.
1. Start the Snipping Tool from the Start menu.
2. In the “Mode” drop down, choose the kind of screenshot shape you want – you can choose anything from full screen to rectangular to a free-form shape.
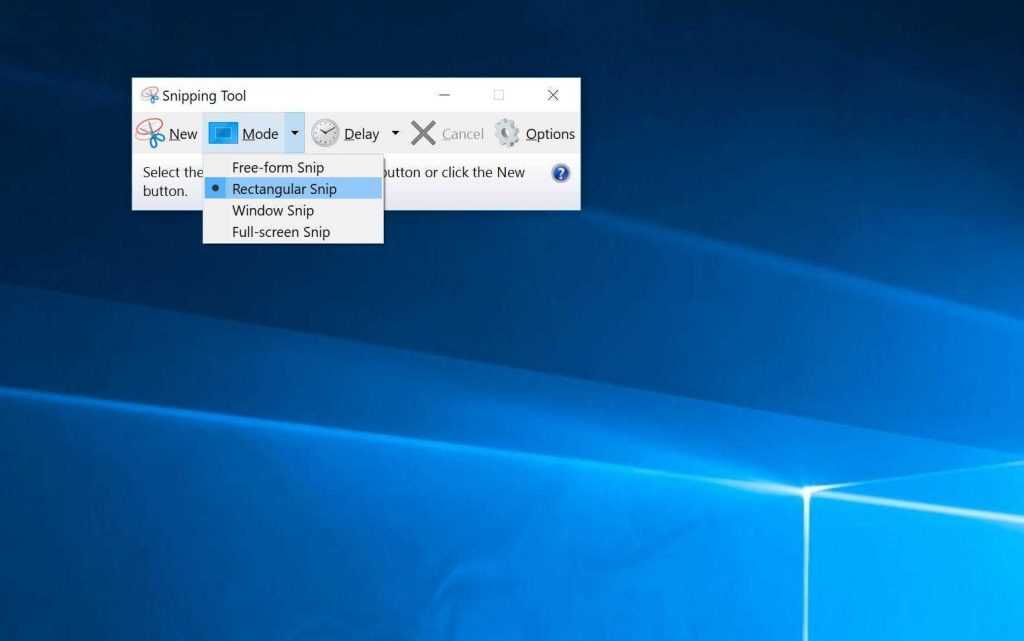
You can choose the kind of screenshot that Snipping Tool takes with the program’s menus.
3. Click New, and your screen will freeze. You can then use the mouse to create the screenshot. The screenshot will then appear in the Snipping Tool window.
4. If you want to include something like a tooltip, which only appears after a mouse movement, you can specify how long to wait before taking the screenshot using the Delay menu.
5. If you want to, once you’ve taken your screenshot, you can use the drawing tools to annotate the screenshot.
6. When you’re done, click “File” and then click “Save As” to save the completed screenshot to your computer.
7. You can also click the copy button in the Snipping Tool window – it looks like two pages laid over one another – to copy the image to your clipboard.
How to take a screenshot on Windows 10 with the Game Bar
The Game Bar is an overlay you can use within most Windows games to take screenshots and record video. Here’s how to use it:
1. Start a game from the Start menu or the Xbox Console Companion program.
2. While playing the game, press the Windows key + G. The Game Bar overlay should appear.
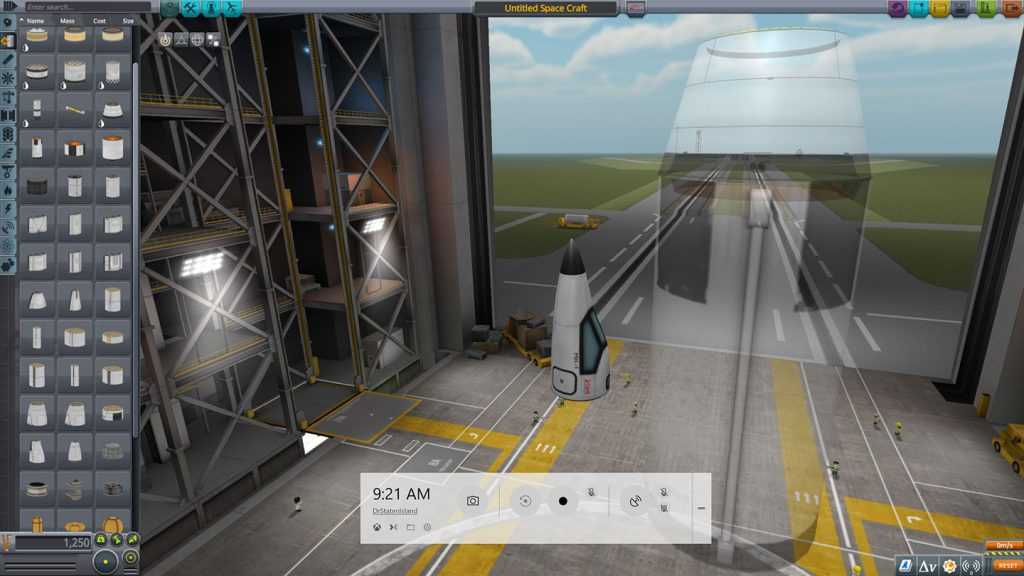
3. Click the camera icon to take a screenshot, or you can use the keyboard shortcut: Windows key + Alt + PrtScn.
The screenshot will be automatically saved to the “Videos” folder in a subfolder called “Captures.”If you’re playing a game on Steam, you can also press F11 to take a screenshot. It will be added to your screenshots folder on Steam.
Saving screen shot as a file (graphics)
First of all, go to start button, and search for paint.
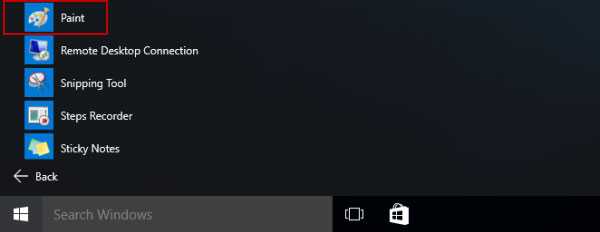
Now, whatever screenshot you have saved in your clipboard by following the above steps. Just paste it in your paint application. After that, go to save in file menu and save it with your compatibility and along with your desired extension. Thus, you get the file saved.
This methods works properly for windows, usually Windows 7 and further versions. So, you probably got your method of saving a screenshot or capturing your screen still by above three methods.
Follow us for more tech related articles. Also do not forget to read our article on How to delete Instagram Account or How to deactivate or delete your Facebook account. Comment below for any information, we, here at India Techno Blog are at your service for any tech related information.

