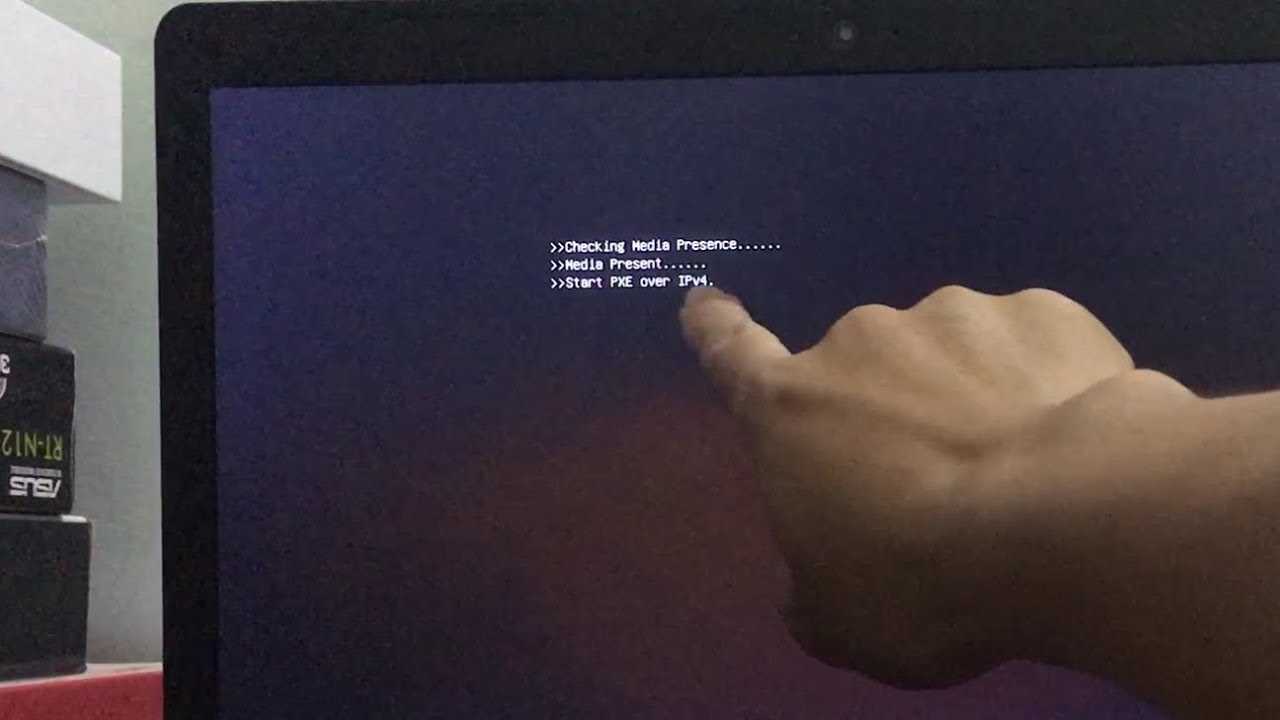
There are several reason for PXE to start over your ipv4, this can occur when the Operating system tries to run over as the hard drive is not accessible. Main reason behind this is, if the PXE wants to maximum boot priority.
In this article, we will understand how to fix the issue of PXE over the IPv4 boot issue on our Windows 10.
You may also like to read about ‘How To Fix ‘Avast Won’t Update Virus Definitions’ Issue?‘.
How to Fix the Start PXE over IPv4
Table of Contents
Enabling our boot device (hard-disk)
This can be caused due to execution of wrong booting order. Follow the following steps to fix it:
Switch on your system and hit the setup key to go to boot mode.
Now navigate to ‘Security menu‘ (using right key), and select ‘Secure boot configuration‘ (using down key).
If you are prompted due to security reasons, hit F10 to continue with our process.
Once the Secure boot configuration opens, go down and select Secure boot, use the right key to open sub-settings and disable it.
Now, move down to ‘Legacy support‘ and hit right key to open sub-settings and enable it.
Press F10 to accept the changes we just made.
Select ‘Save and exit‘ option and select ‘OK‘.
As soon as you save the changes, your computer will reboot. Do not let it switch ON. Press the power button to off it.
You may also like to read about ‘How to Fix GeForce Experience Error Code 0x0003‘.
Booting system with hard-disk
Our next step is to boot our system with hard-disk. For this follow the below steps:
Now, turn on the system. It will prompt the message that the booting preference is changed.
A 4 digit code will be displayed (just type the code without a text field), type the code and press enter.
Again, turn off your computer system and turn it on after a few seconds. Make sure to hit the ESC button repeatedly. You will be switched to the start-up menu.
Hit F9 to enter into boot mode, and select ‘Hard-disk’ from the boot menu. Now after selecting, restart your computer system. You will find that the problem is solved.
You may also like to read about ‘How to Fix Logitech G933 Mic Not Working Problem‘.
Conclusion
Thank you for reading our article on ‘How to Fix the Start PXE over IPv4’. If you have any query, please comment below. We would love to solve them.
You may also like to read about ‘How to fix when Wi-Fi is stuck “Obtaining IP Address”?‘.

